The first step of configuring a Live Connect is to connect to an ArcGIS Server, or ArcGIS Online.
Note: If you attempt to connect to an ArcGIS Server, the server must use a trusted certificate. Self-signed certificates will not work.
- Enter a server URL into the input box. The server URL must take the form of: https://my.arcgis.server.com:6443/arcgis/rest/services or http://my.arcgis.server.com:6080/arcgis/rest/services

- If your server requires a custom HTTP header to be sent with all requests (typically only required if your ArcGIS Server sits behind an external proxy), enter the HTTP header name and value. (New in February 2019).
- Before proceeding you must click Test Connection. This will validate your ArcGIS Server URL.
- If the server is valid and is detected as a secured server, you will then be prompted for login credentials to the server.
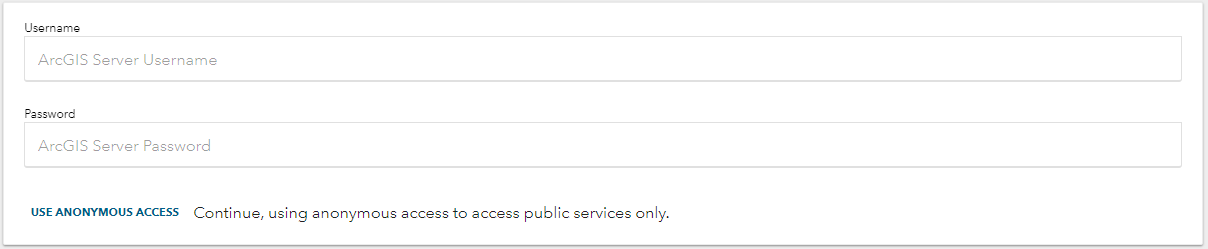
- At this stage, you have the option to enter login credentials for your ArcGIS Server or ArcGIS Online, or to use anonymous access.
- If using login credentials, enter your login and click Verify Credentials. This will unlock access to any secured services which your login has access to.
- If using anonymous access, do not enter any login details and click Use Anonymous Access. This will allow you to use any publicly shared services.
- If your credentials are valid, you will be presented with a success message:

- You can now continue to Project and/or Exclusion Zone configuration.