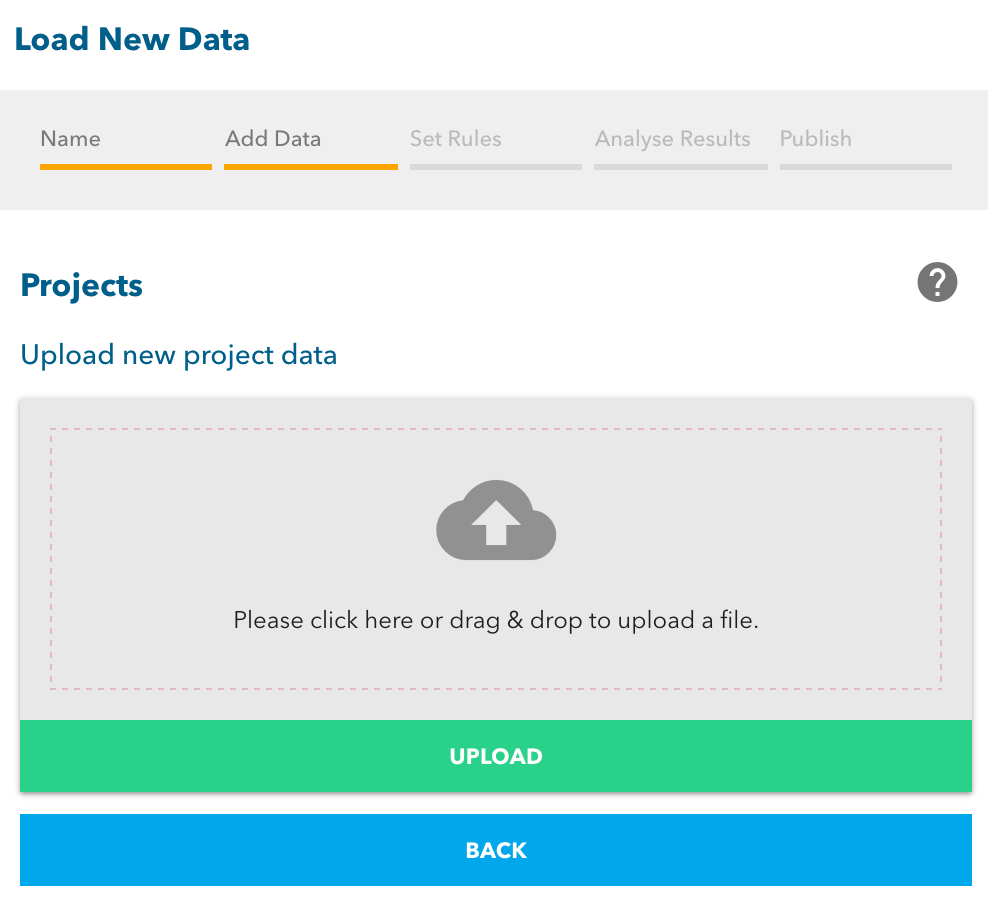
After you have selected your exclusion zones load option (e.g. Add New, Merge with Live) you will be shown the data file selector. Click on the cloud to open a file dialog or drag your file onto the cloud from your file explorer.
Once you have selected the file you must choose the file format (e.g. Esri Shapefile). Select the file format that matches your data.
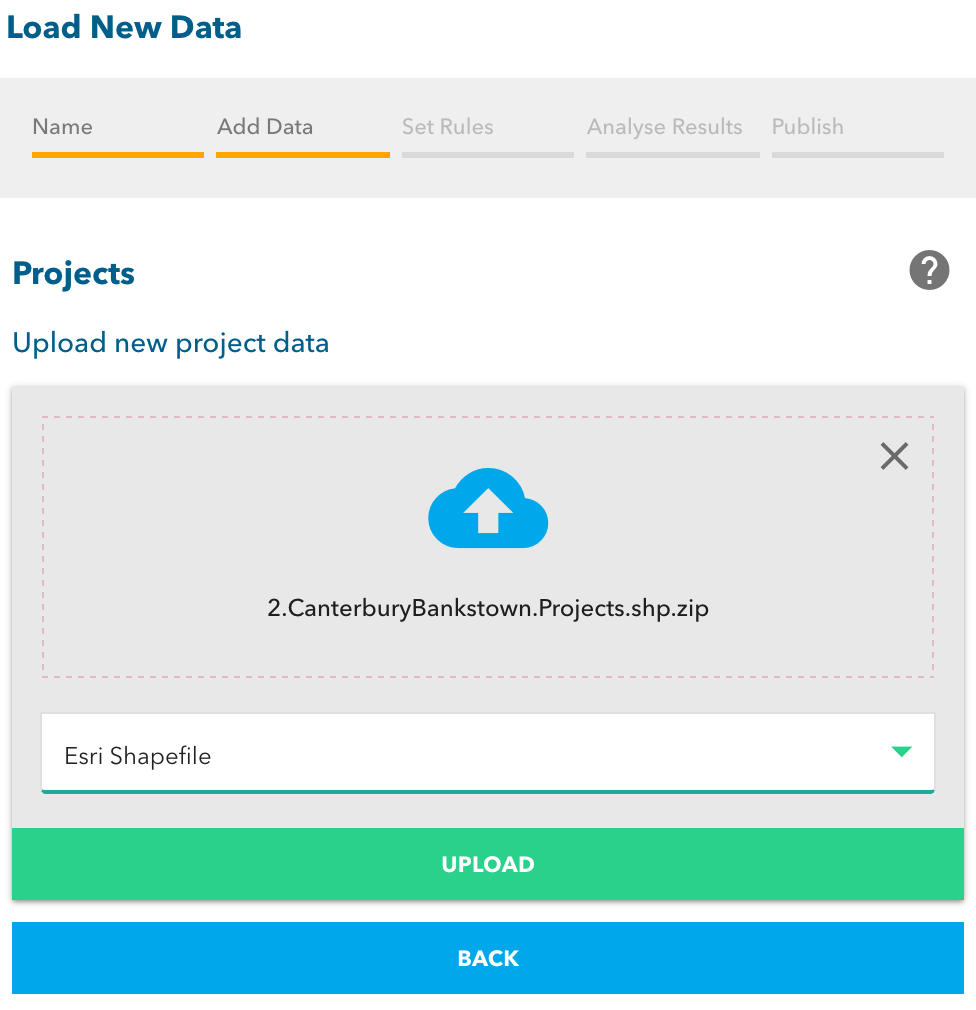
Click upload. Your data file will be uploaded and some preliminary data validation takes place.
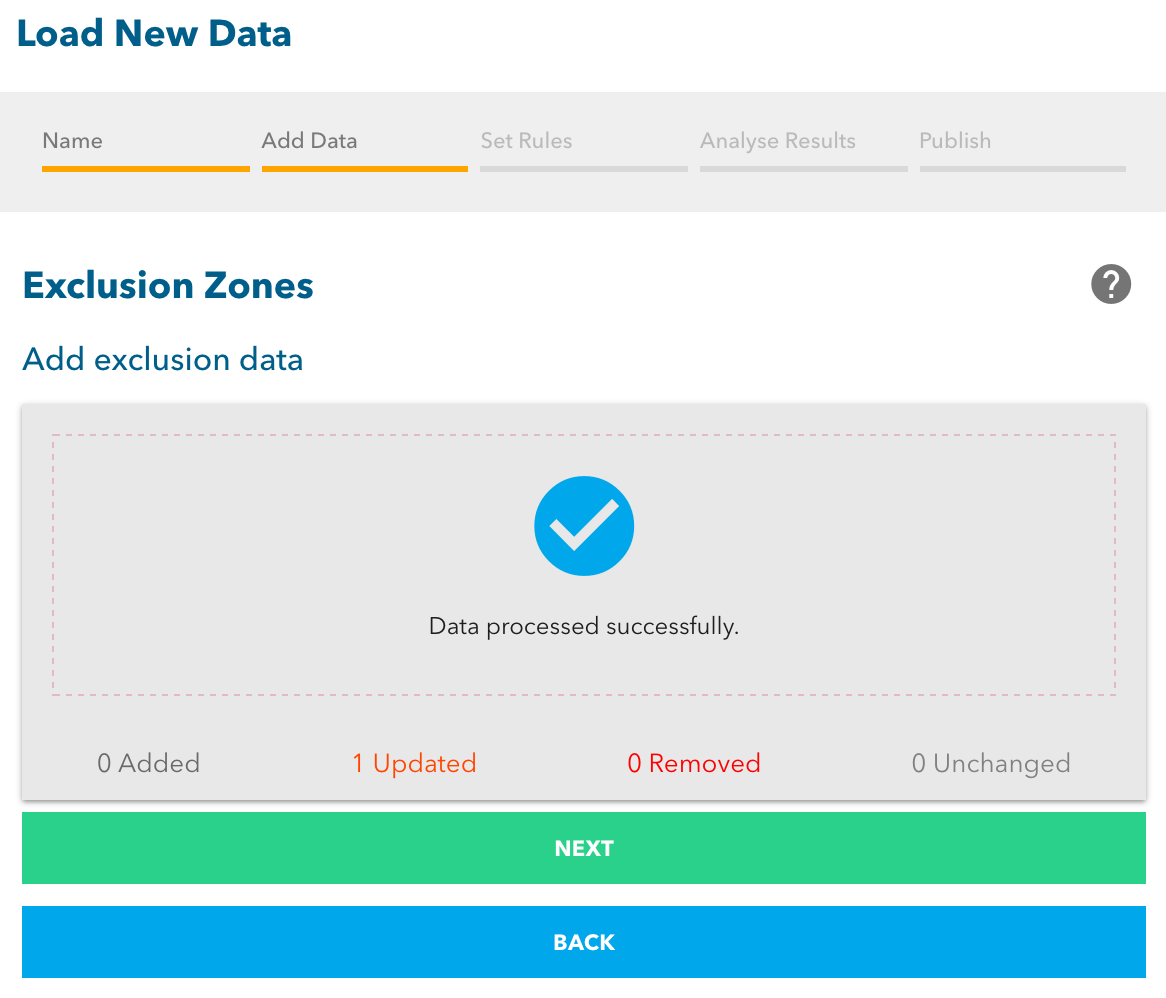
If your data has no errors you will be shown a summary of the changes detected in your data file compared to the currently live data for your organisation.
If your data has errors you will be shown the errors on the page. The file has not been uploaded and you cannot continue until you have resolved the errors.