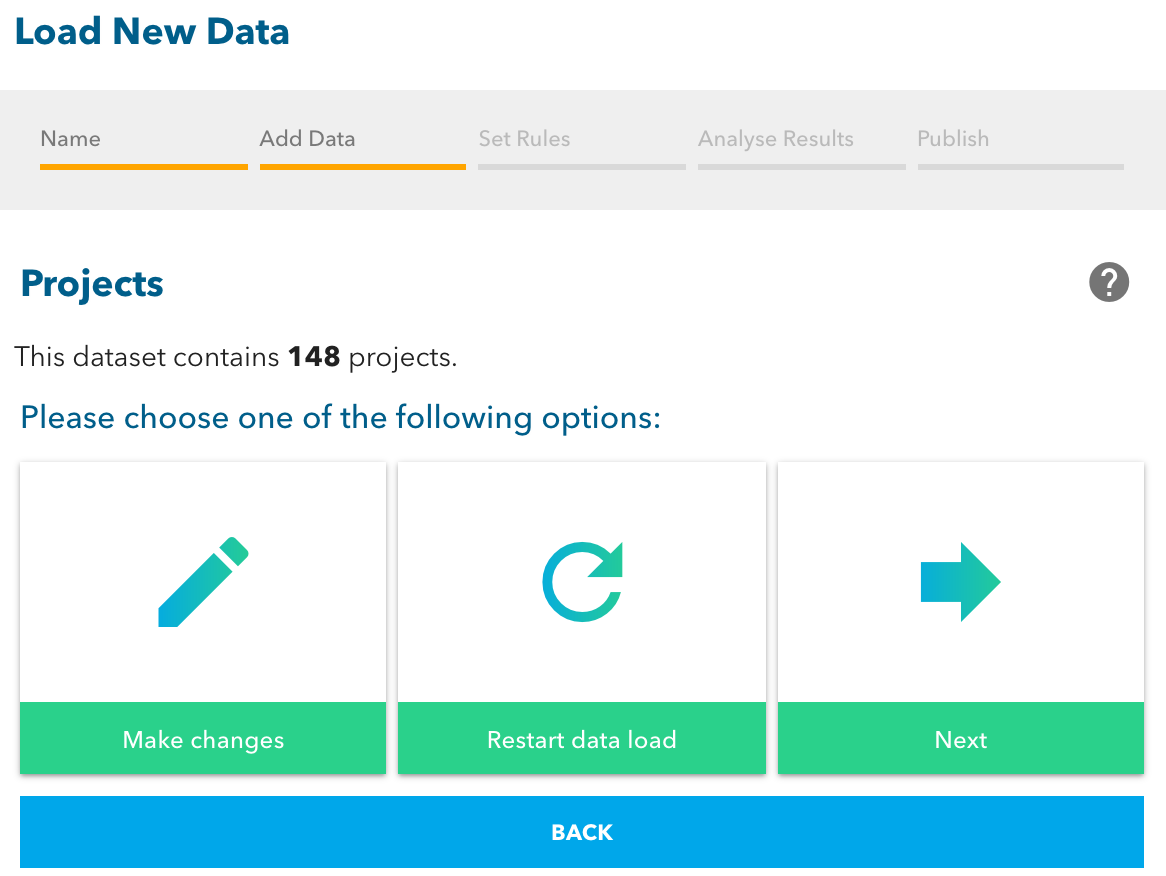
You can edit data after it’s been uploaded by selecting the “Make Changes” button. This will take you to an editing environment where you can change the fields of any of your projects. (NB you cannot change the unique ID of a project or update the geometry through the editor – upload a new file if you need to change these fields).
After clicking “Make changes” you will see a list of the projects in your dataset. You can change fields on any of the projects or choose to delete a project (no undo!).
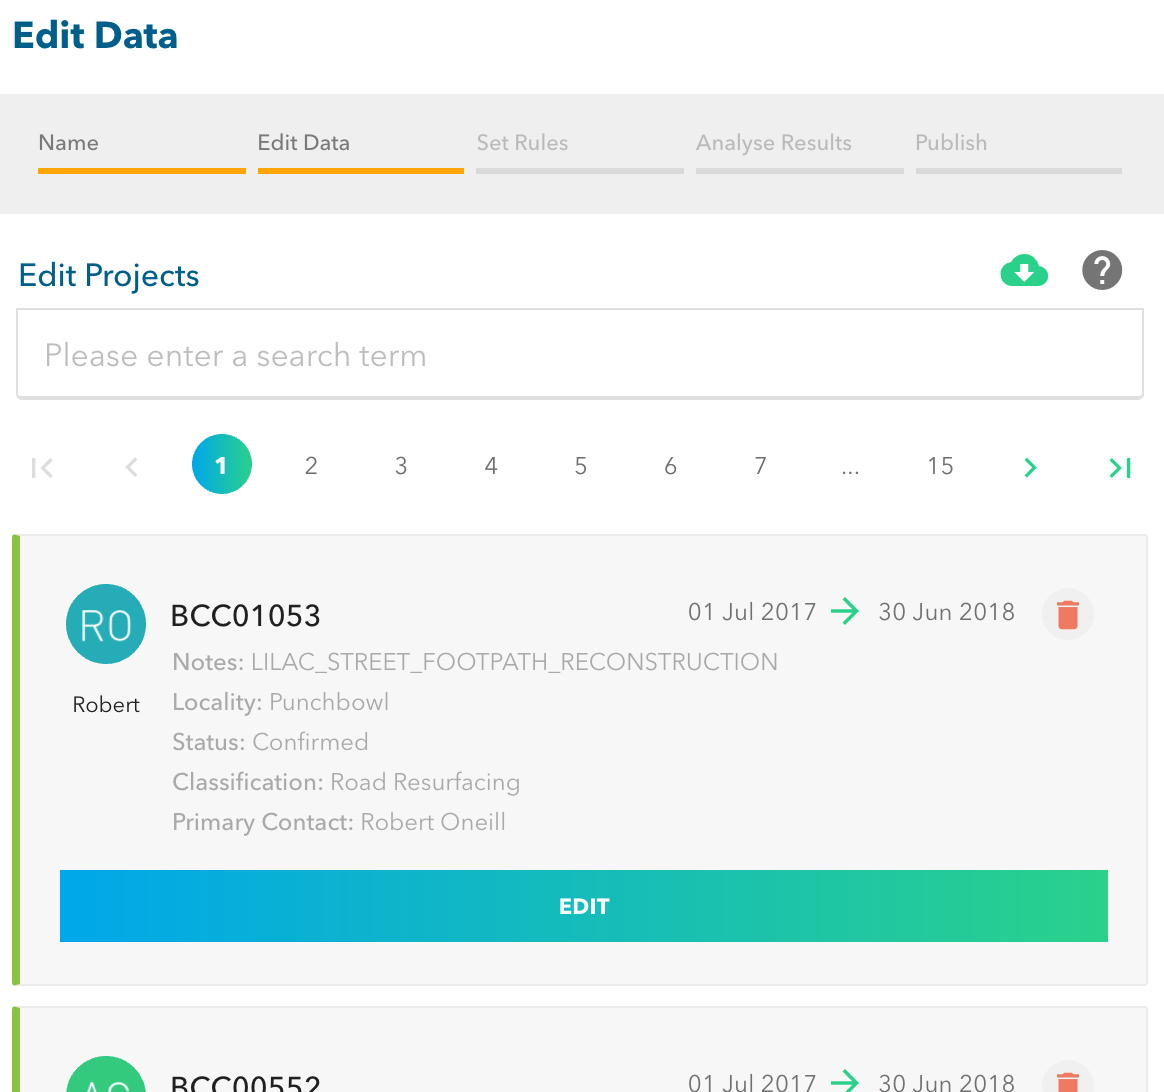
You can quickly find a project by entering text in the search box. This will match with either the unique ID of with the notes for your projects. Alternatively, page through the projects using the paging selector.
When you find a project that you wish to edit click on the “EDIT” button to make the fields editable.
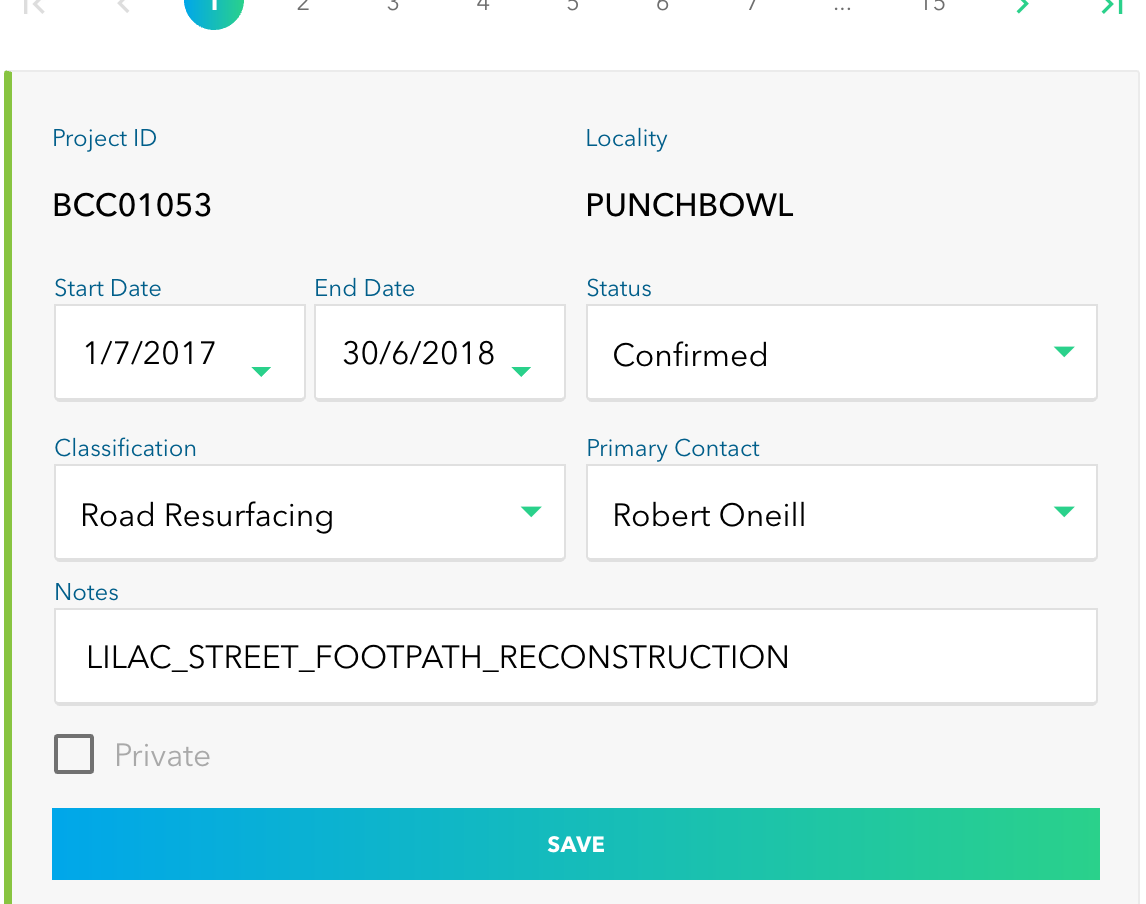
When you have finished editing the fields, click on “SAVE”.
Finally, when you have finished with all of your edits scroll to the bottom of the page and select the “FINISH EDITING” button.
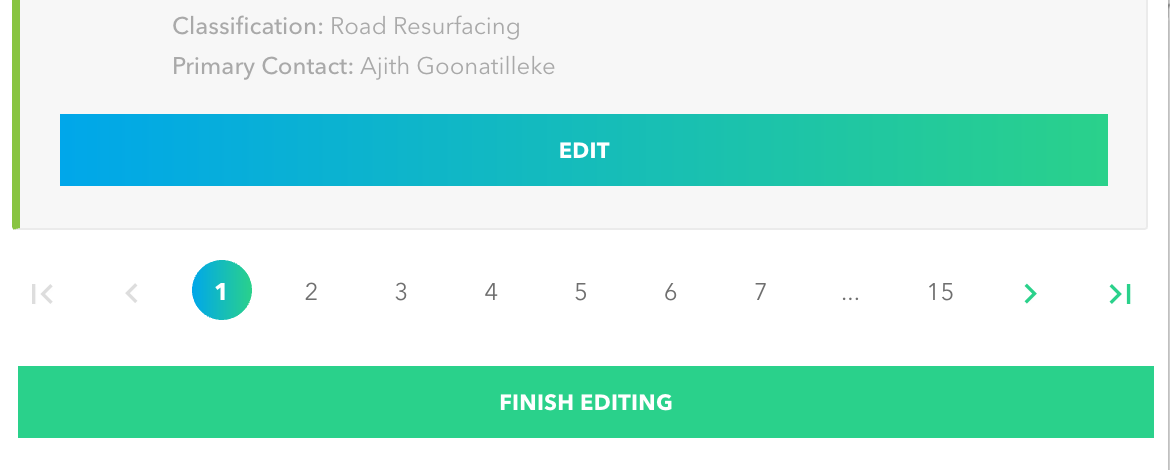
This will take you back to the projects options page. Click “Next” to progress on to the exclusion zones.